January 23, 2025
Design Your Own Macropad With AI Auto-Layout
Share

Hitting the same keys and toggling commands all day is incredibly tedious. A macropad can free up mental bandwidth and speed up your workflow—whether you’re designing PCBs, writing firmware, editing videos, or any other repetitive task. In this post, we’ll guide you through an existing macropad design in Flux so you can:
By the end, you’ll have a production-ready custom macropad you can actually order—and, if you’re up for it, share your unique spin with the Flux community.

This example takes inspiration from the popular “Figma Creator Micro,” which was designed to speed up design software workflows. We wanted a similarly compact macropad with plenty of customization.
Key Components and Features:
1. Raspberry Pi Pico 2 (RP2350A)
2. External Flash Memory (W25Q32RVXHJQ)
3. Two Rotary Encoders (PEC12R-2220F-S0024)
4. Slide Potentiometer (PTA2043-2010CIB103)

We used Flux’s automatic ground fill to ensure easy, noise-free connections across the board. Smart vias also help optimize routing, especially in compact designs. That keeps your layout clean and production-friendly.
See the Schematic and PCB: Open/Clone the Example Project in Flux to explore the design step by step. If you want a no-fuss option, you can literally just fork and order it as-is.

Before you start tinkering, it helps to see how everything fits together. If you’re not sure why certain parts are included or how they’re wired, you can simply ask Flux Copilot, our AI assistant, right in the project.
Example Copilot Prompts:
@copilot can you explain how the Mechanical Key Module is wired to the Raspberry Pi Pico?
@copilot what’s the function of the external flash memory in this design?
@copilot can you outline how the two rotary encoders are connected?
@copilot which GPIO pins are currently free for additional keys or sensors?
You can also request a high-level overview of the entire project:

Copilot will respond with details about components, pin assignments, and even why certain parts were chosen, helping you understand the design before you dive into any major customizations.
A quick way of personalizing this design would be to add some more keys. Each Mechanical Key Module is pre-built with the switch, diode, and LED. If you want more (or fewer) keys:
1. Copy the Module in the schematic.
2. Ask Copilot for an unused GPIO on the RP2350. Type:
@copilot Find a free GPIO Pin on the RP2350 where I can connect a new key
3. Let Flux Copilot handle the actual schematic wiring if you’d like. Type:
@copilot connect Key13 GPIO X
For the rotary encoders and slide potentiometer, you’ll see them already placed in the schematic. Feel free to move them around, switch to different pins, or remove them if you don’t need them.
Switch to the PCB editor to see the current footprint placements.
Repeat or tweak until the board shape, connector positions, and overall look match your preferences.

That’s it! You’ll have your custom macropad PCB in hand in a couple of weeks—ready to solder and test.
We’ve included a MicroPython firmware example that handles debouncing, RGB lighting, rotary encoder tracking, and custom macros. You can tweak it however you like: add more key commands, change LED effects, or even integrate USB HID keyboard functionality.
Below is the full example code:
How to Flash:
A macropad is a fun, hands-on introduction to designing professional-grade PCBs with Flux—while still being small and easy to iterate on. Using modules, AI Auto-Layout, and built-in Copilot means you can move fast, experiment freely, and end up with a fully functional device you’ll actually use every day.
Ready to fork this design and customize the hardware, firmware, or both?
Share your unique designs with the Flux community for a chance to be featured in an upcoming showcase!
We can’t wait to see your take on this build—happy designing!


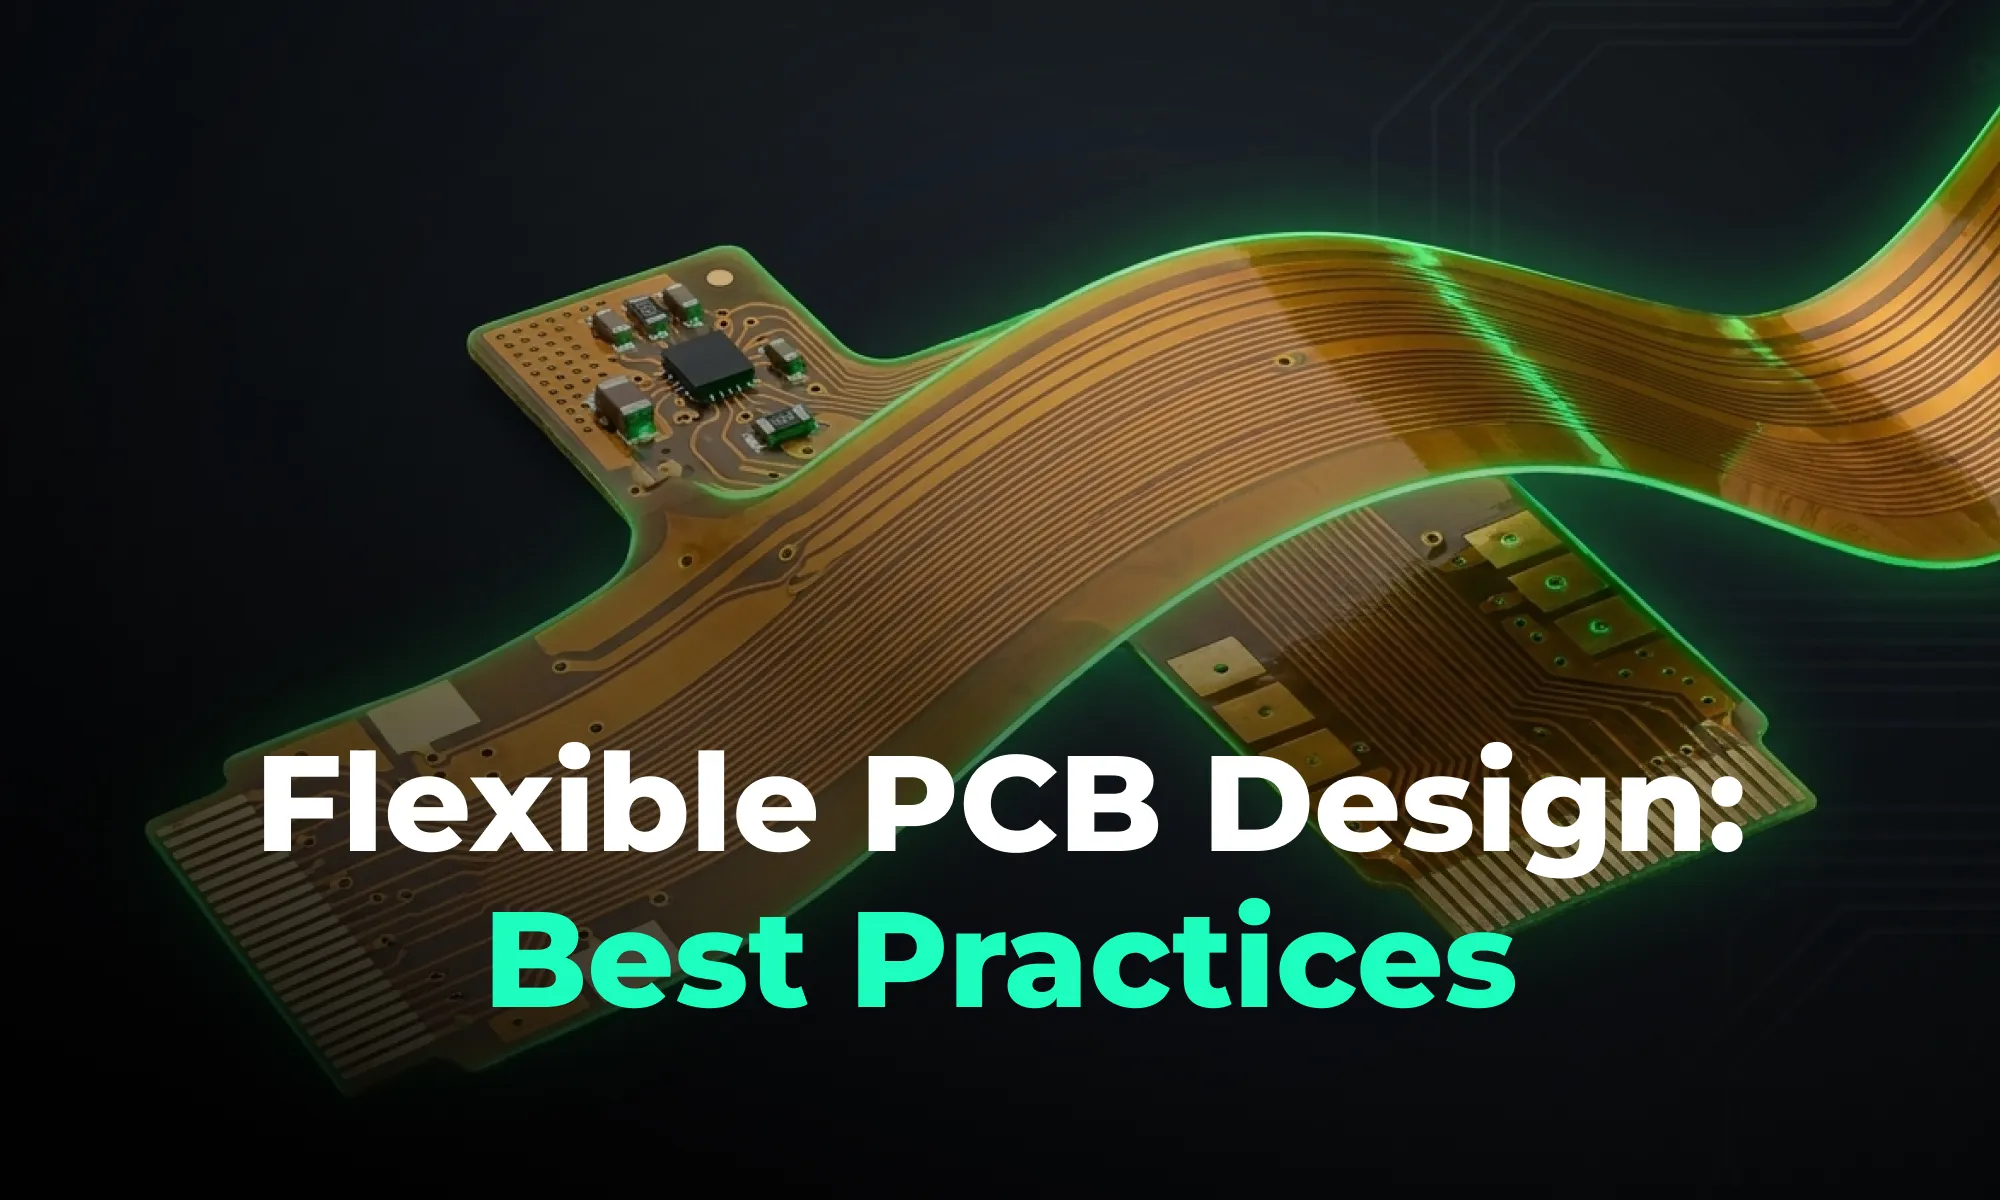
A guide to flexible PCB design, covering materials, stackups, bend radius, and layout best practices for wearables, medical devices, and other compact electronics.

A beginner-friendly guide to reading PCB schematics, covering common symbols, nets, and how to follow signal flow through a circuit diagram.

Learn the key differences between analog and digital PCB design and how to manage mixed-signal layouts for better signal integrity.

Learn how to place and select decoupling capacitors to improve power integrity in PCB design.

Learn the core rules of differential pair routing including parallel routing, consistent spacing, length matching, and return path management for high-speed PCB designs.

Learn the most common causes of PCB EMI issues and proven layout, grounding, shielding, and filtering techniques to pass EMC compliance.

Learn the most common PCB testing methods including flying probe and in-circuit testing to ensure reliability.

Learn how to manage heat in PCB design with thermal vias, copper pours, layout strategies, and cooling techniques to improve reliability.
