Copper Pour for GND Connections
Thought for 2 mins 6 sec
Here’s what the Flux documentation says about enabling a GND copper fill on a specific layer and adding via stitching:
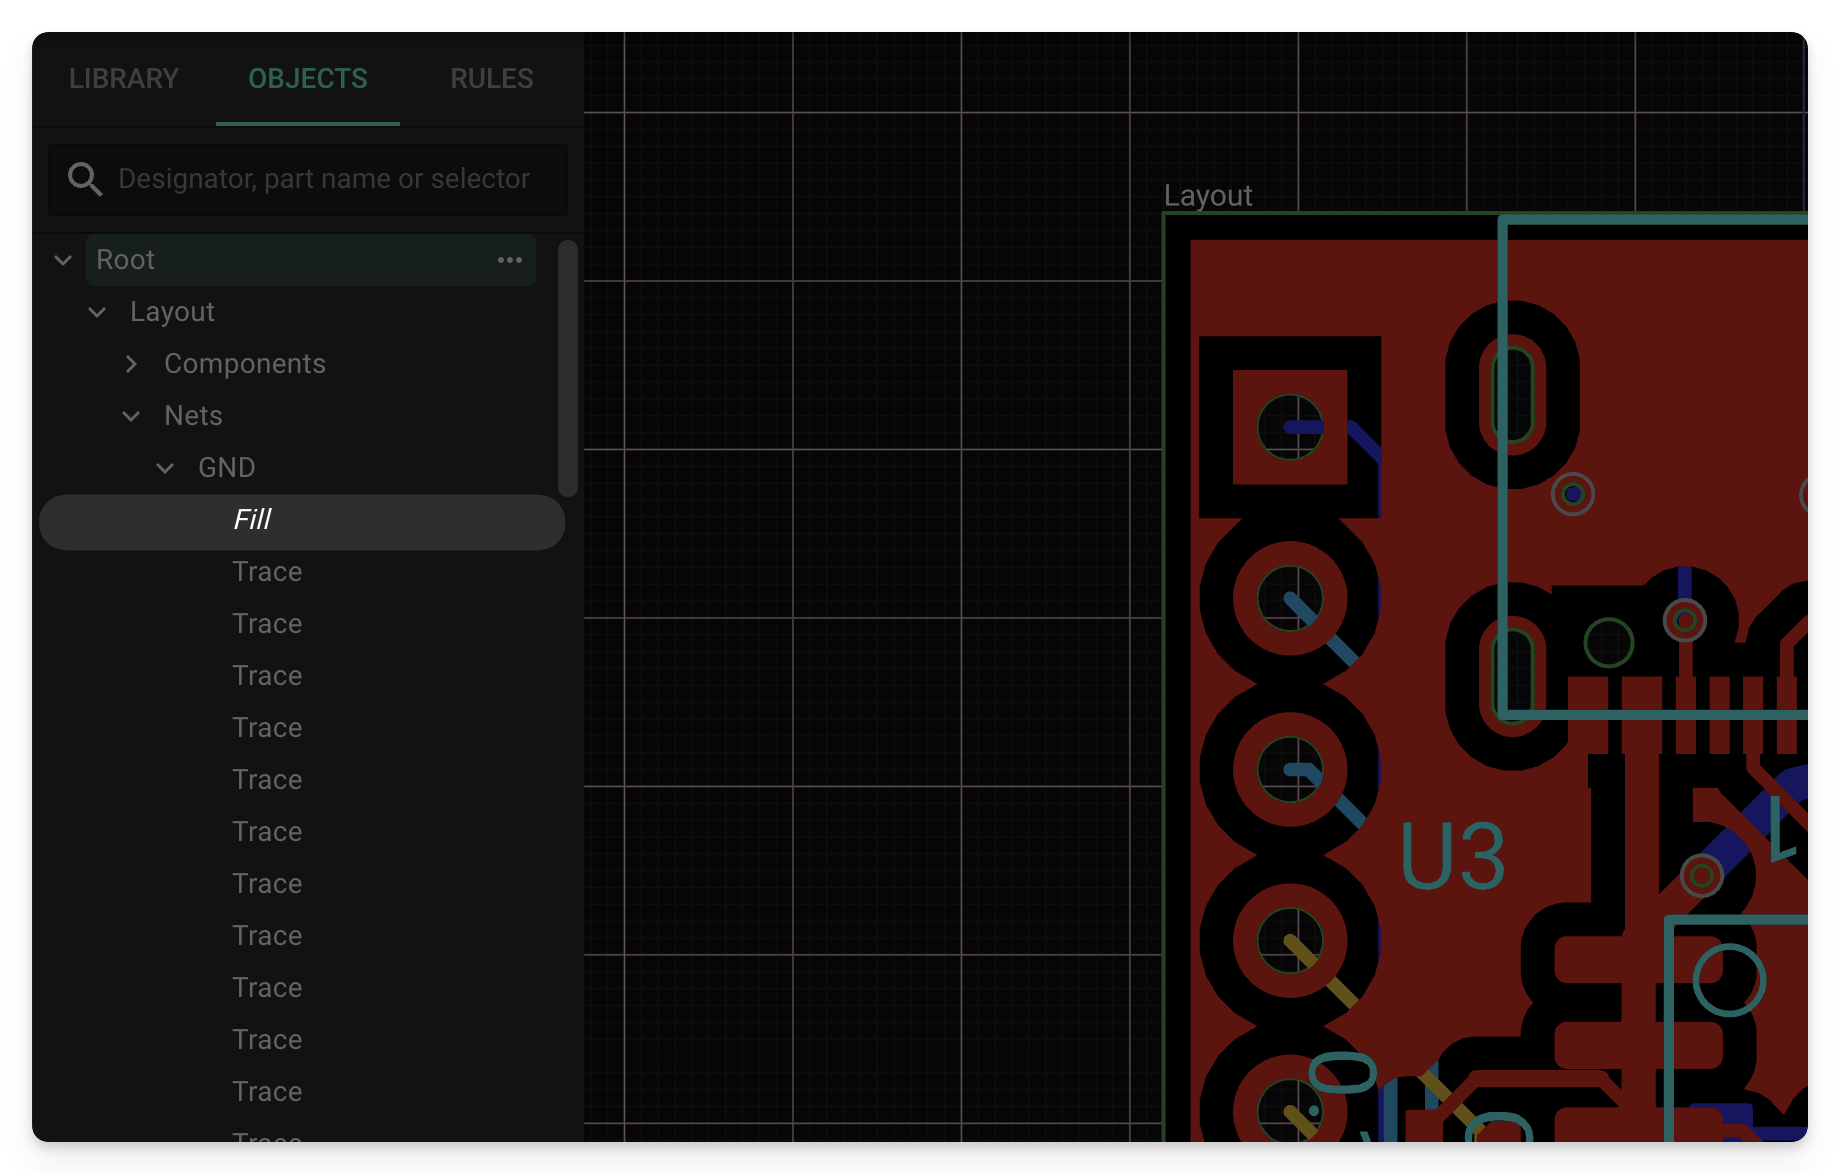
Image
“Fills can be enabled or disabled on each layer by assigning a "Connected Layers" rule to the target net. If the target net is a ground net it is known as a ground fill, while if the target net is a power net it's known as a power fill.
To enable or disable a copper fill for a target net:
- Select the target net (nested under Root → Layout → Nets in the Objects panel
- Add a "Connected Layers" rule from the "object-specific rules" menu on the right.
- Select all layers for which you want the fill to be enabled. Leaving the text box empty will disable the fill connected to that net on every layer.
Info
Leaving the "Connected Layers" rule empty will disable copper fills on every layer for that net.”
“Via stitching can be enabled and configured with the use of two rules:
- Fill Stitching Density: vias will be spaced by the amount specified in this rule. Any non-zero value enables via stitching.
- Fill Stitching Offset: shifts the via stitching block by the amount specified.
Follow these steps to add one or both of the rules:
- Select the ground net (nested under Layout → Nets → GND in the Objects panel)
- Add the desired rule from the "object-specific rules" menu on the right.
- Enter the offset and/or density values as distances.
Note: both rules accept x and y input (vector rules). For example, typing "10mm 13mm" on Fill Density will create stitching with 10mm separation on the x-axis and 13mm separation on the y-axis.”
Source
Would you like me to stay with you while you add:
- Connected Layers = Bottom (for GND), and
- Fill Stitching Density (your chosen spacing) on GND?
Bottom-only GND fill
Choose stitching spacing
Fix floating copper
Adjust fill clearances
Split grounds for shield
To get started, talk to Flux or create a New Document.

Welcome 👋
Flux helps you build PCBs faster with an AI teammate!
Create your account to collaborate, stay updated, fork your own version, and get instant answers from our AI agent.