Sustitución de Resistencias
Thought
Work done
Replaced all four generic resistors with standard 0603, 1% thick-film, 0.1 W parts and updated properties:
Table
| Designator | New MPN | Footprint | Tolerance | Power Rating |
|---|---|---|---|---|
| R2 | RC0603FR-07500RL | SMD_0603_1608Metric | 1 % | 0.10 W |
| R3 | RC0603FR-07500RL | SMD_0603_1608Metric | 1 % | 0.10 W |
| R4 | RC0603FR-07500RL | SMD_0603_1608Metric | 1 % | 0.10 W |
| R5 | RC0603FR-07500RL | SMD_0603_1608Metric | 1 % | 0.10 W |
• BOM entries updated for R2–R5
• ERC and power-rating checks passed (≤ 60 % dissipation)
Success criteria review
- ✅ All generic resistors replaced with standard in-stock 0603, 1 % E-series parts
- ✅ Power dissipation margin ≤ 60 % of 0.1 W rating
- ✅ BOM updated and ERC checks clear
Next step
Now that the schematic is clean, the next step is to prepare the PCB layout:
- Review and confirm all footprints
- Configure board stackup and design rules
- Place components and auto-route nets
Shall I proceed to the PCB layout preparation?

puedes cambiar a 0.500mm las lineas azules de pcb
Thought for 1 min 30 sec
This is what the Flux documentation says about changing trace width:
- Navigate to the PCB Editor
- Select the trace segment you want to modify the width.
- In the right-hand panel, navigate to "Object Specific Rules".
- Select the "Edit" button and then select "Add".
- Search for `Trace Width` in the rule selector and select "Add".
- You can also add "`Trace Width Maximum`" and "`Trace Width Minimum`" to further constrain the width.
- In the property's field, enter the desired trace width.
## Configuring trace width at net level
Setting up trace width at a net level ensures that every trace segment in that net will have the correct width.
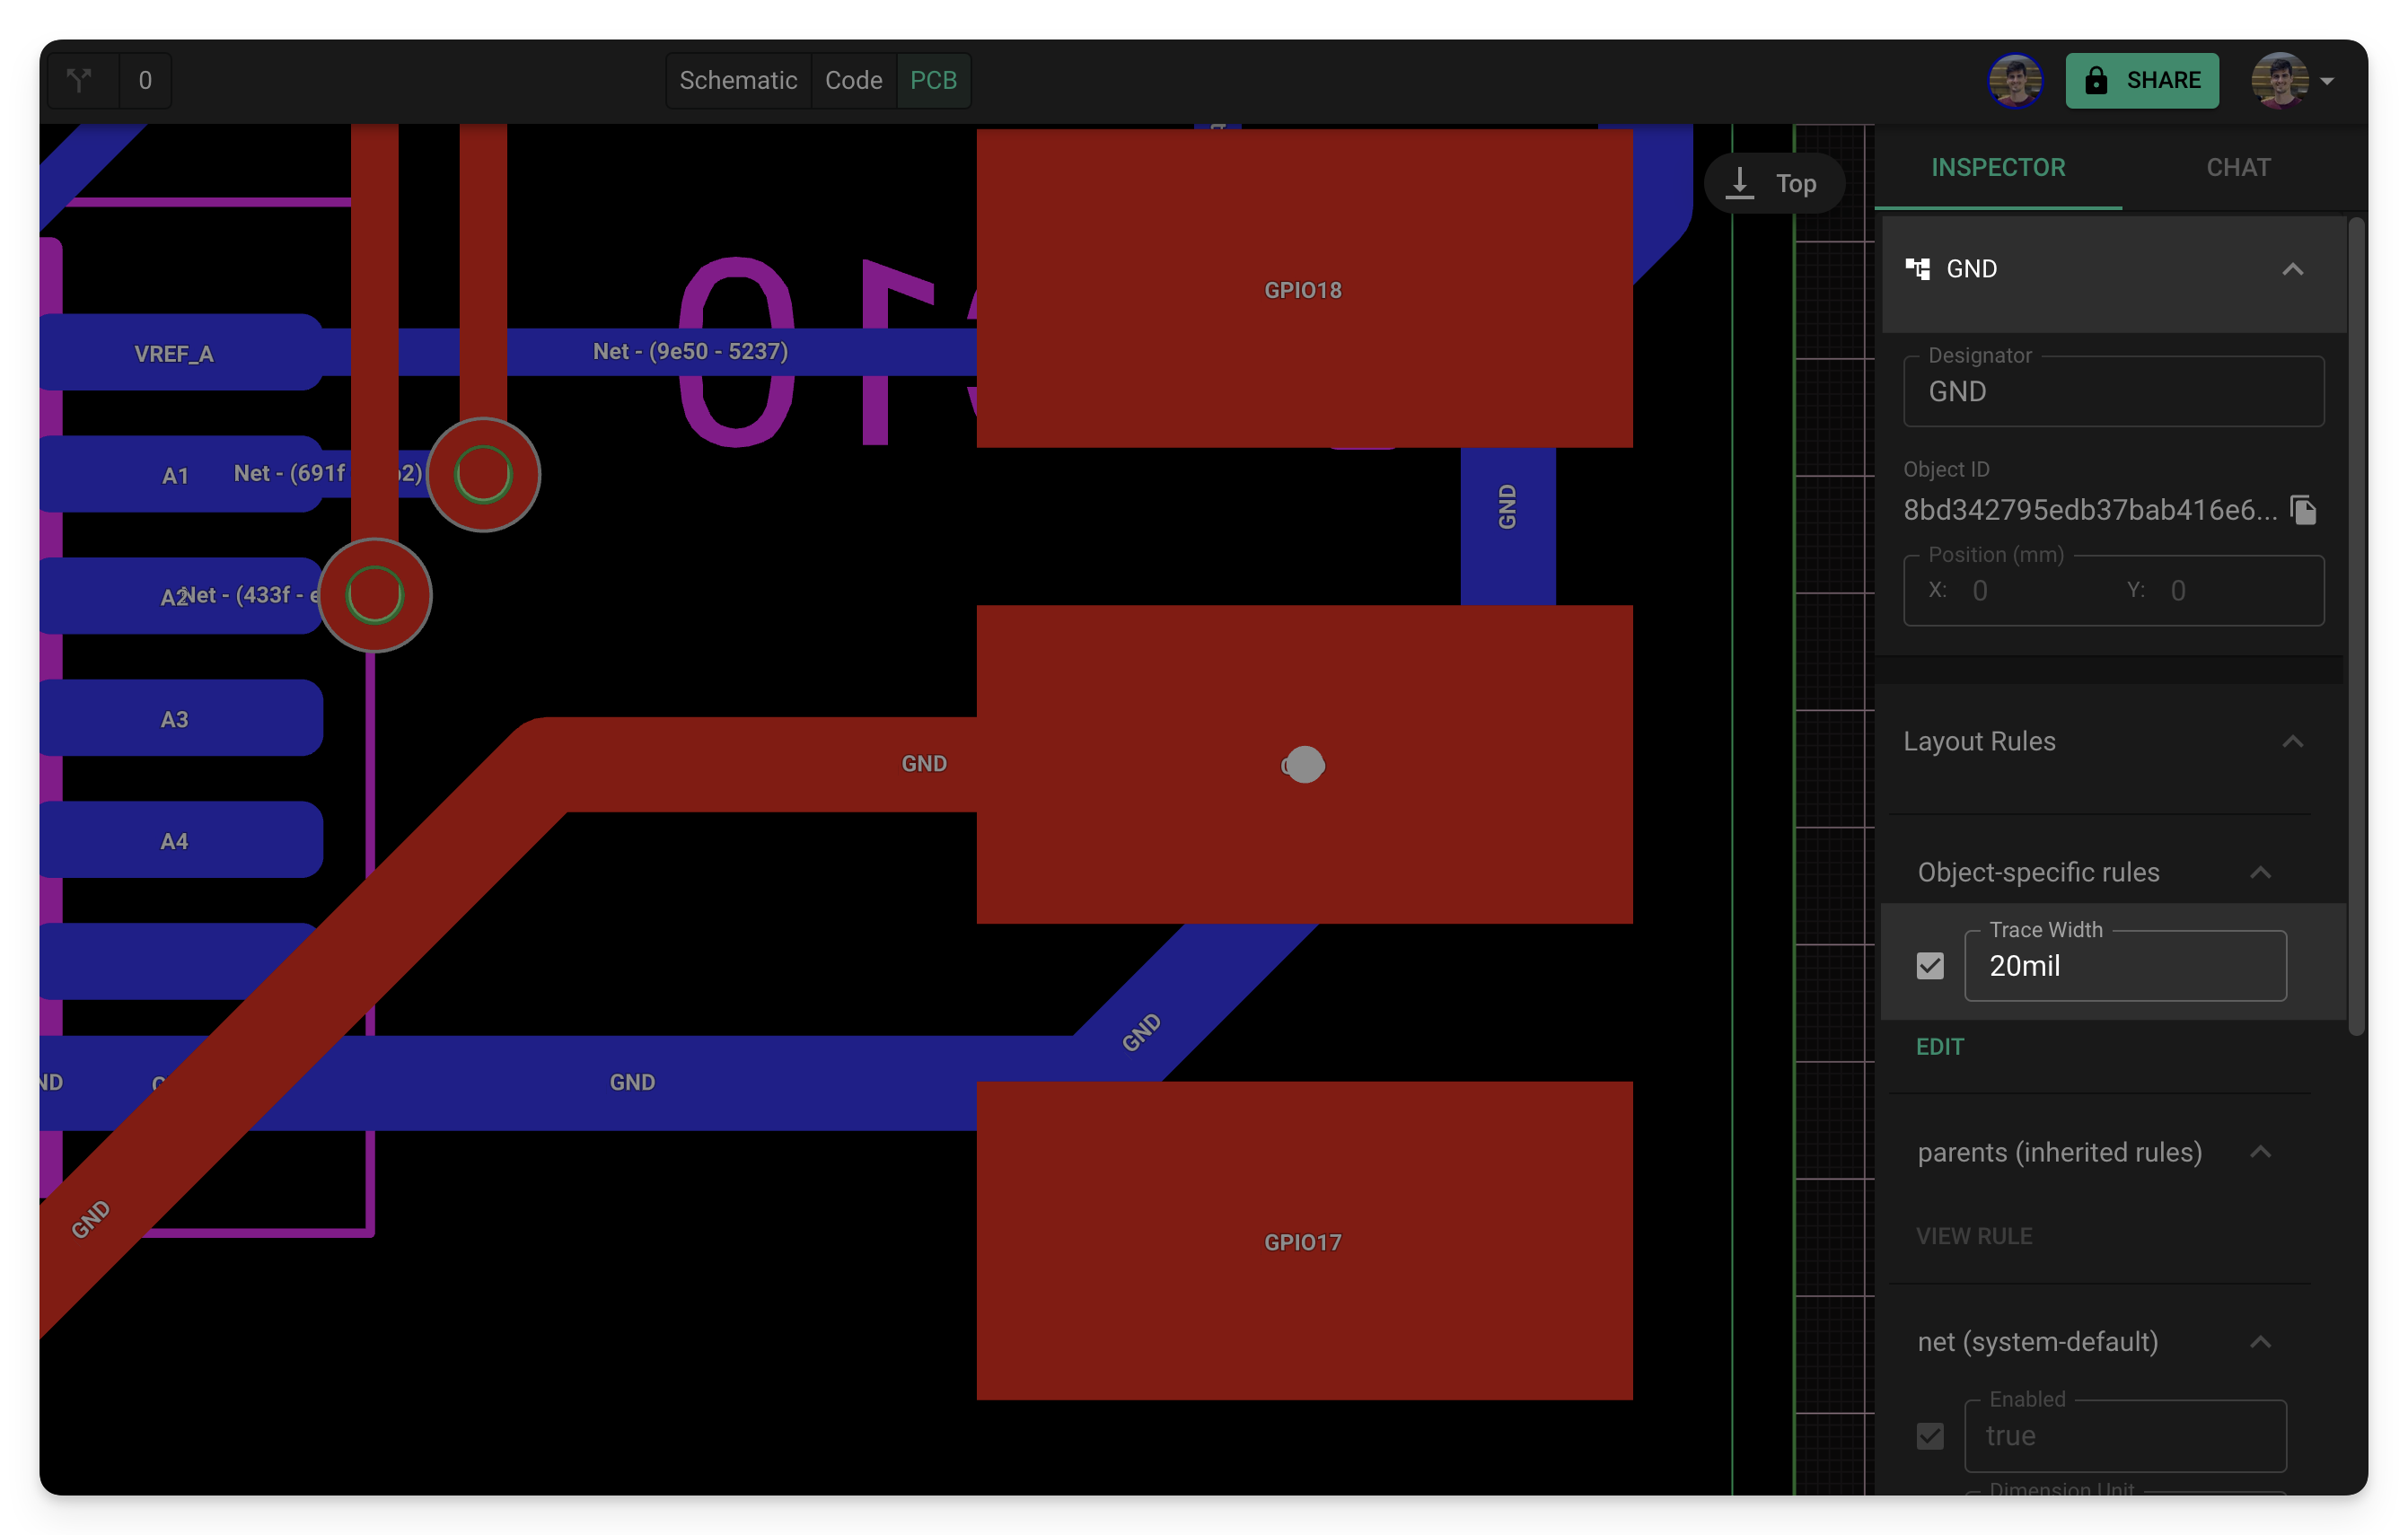
- Navigate to the PCB Editor
- Select "Objects" on the left panel and select the net node you want to modify.
- Tip: It can be helpful to rename the nets using the designator for quick future reference.
Source: Flux Documentation
